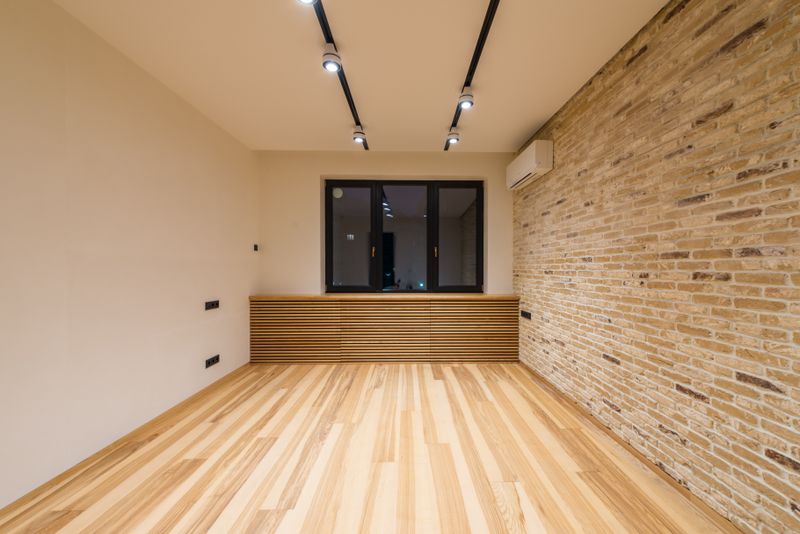
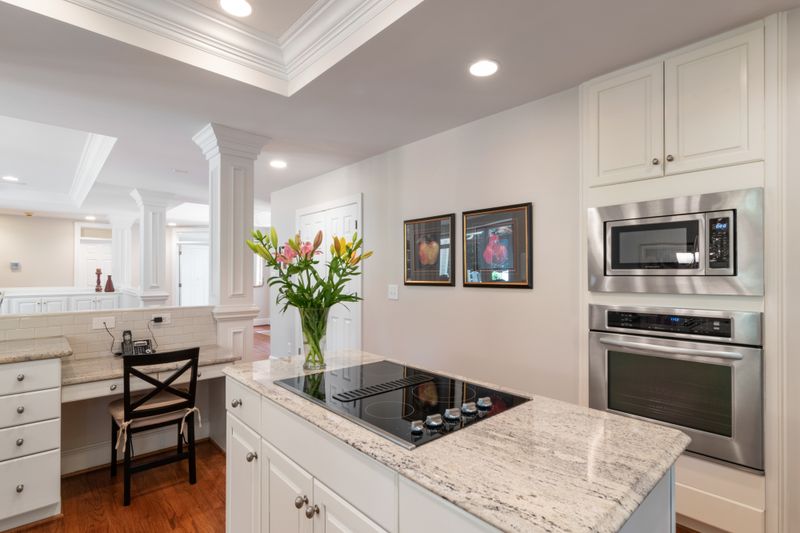
If you're renovating a kitchen, finishing a basement, or just sick of that single dome light in your living room, pot lights are probably on your list. The most common question we get from Edmonton homeowners: how much is this actually going to cost me? Here's a direct answer, plus everything else you should know before booking the job.
The real cost per light
The cost of a pot light installation in Edmonton depends on a few factors. Every job includes the fixture, the LED trim, wiring, the cut in your ceiling, and cleanup. Here's what moves the price:
- Ceiling access -- if there's an attic above or open joists, the install is faster and cheaper. A main floor ceiling with a finished room above it takes more work.
- Distance from existing wiring -- the farther each light is from the nearest junction box or power source, the more wire and labour involved.
- Number of lights -- more lights on a single circuit bring the per-unit cost down. A job with 10 lights will cost less per light than a job with 3.
- Dimmer switches -- if you want dimming (and you should), a dimmer and switch combo adds to the total depending on how many zones you want.
The total depends on the number of lights, ceiling access, and how many dimmer zones you need. We'll give you an exact number after seeing the space.
LED vs halogen: not even close anymore
This used to be a real debate. It isn't anymore. LED wins on every front. Modern LED pot light trims last 50,000+ hours, use about 12 watts each instead of 65, produce less heat, and come in whatever colour temperature you want -- from warm 2700K to daylight 5000K. Most Edmonton homeowners go with 3000K for living spaces and 4000K for kitchens and bathrooms.
Halogen fixtures run hot, burn out faster, and cost more to operate every single month. If your home still has halogen pot lights, a retrofit to LED trims is one of the simplest upgrades we do. You keep the existing housing and swap the trim and bulb -- takes about 10 minutes per light.
IC-rated fixtures: what they are and why you need them
IC stands for "insulation contact." An IC-rated pot light housing is designed to sit directly against attic insulation without overheating. In Edmonton, where every home has ceiling insulation (and where Alberta building code requires it), IC-rated fixtures are the standard for almost every installation.
Non-IC fixtures require a clearance gap around the housing -- no insulation touching the can. That creates a gap in your insulation envelope, which in a city where it hits -30 in January is not something you want. If you're getting quotes and someone doesn't mention IC-rated housings, ask about it. Any new install in an insulated ceiling should use them.
Layout planning: where the lights go matters more than what they cost
This is the part most people overlook. An expensive fixture in the wrong spot does less for a room than a well-placed one. Good pot light layout follows a few basic rules:
- Spacing -- a general guideline is to divide ceiling height in half. In a standard Edmonton home with 8-foot ceilings, that means pot lights roughly 4 feet apart from each other and about 2 feet from the walls.
- Task areas first -- in kitchens, lights go above the counter, the island, and the sink. In bathrooms, above the vanity. Don't just grid the ceiling evenly and call it done.
- Symmetry matters -- misaligned lights are immediately noticeable, especially in open-concept layouts. We mark and measure before cutting anything.
Here's what typical room layouts look like in Edmonton homes:
- Kitchen: 6 to 8 lights. Two rows above counters and island, plus one or two over the sink area.
- Basement (open rec room): 8 to 12 lights. Spread across the full space with separate zones for the TV area, bar, and general lighting.
- Living room: 4 to 6 lights. Perimeter placement usually looks best -- lights around the edges with a clear centre ceiling.
- Bathroom: 2 to 4 lights. Above the vanity and the shower or tub area.
New construction vs retrofit
If you're building a new home or doing a full gut renovation, pot light installation is straightforward. The ceiling is open, the wiring runs are simple, and everything gets inspected before drywall goes up.
Retrofit work -- adding pot lights to an existing, finished ceiling -- is more involved but absolutely doable. We use slim LED panels and retrofit housings designed to fit through a small hole in the drywall. The housing clamps to the ceiling from below, so there's no need to access the space above in most cases. For Edmonton homes with finished basements or second floors, this is the standard approach.
Retrofit jobs take a bit longer and can cost slightly more per light, but the result is the same: clean, flush-mounted lights with no visible housing from below.
Dimmers and compatibility
Not all dimmers work with all LED fixtures. This is the number one reason pot lights buzz or flicker after installation -- someone used an old dimmer switch designed for incandescent bulbs. LED-compatible dimmers (like the Lutron Caseta or Leviton Decora lines) solve this completely. They're smooth, silent, and some offer smart home integration if that's your thing.
We recommend setting up separate dimmer zones for different areas. Kitchen counter lights on one dimmer, island lights on another. Living room perimeter lights separate from any accent lighting. It gives you actual control over the feel of each room without adding much to the total cost.
What install day actually looks like
For a standard job -- say, 8 pot lights in a kitchen -- here's the typical flow:
- Layout and marking -- we walk the room with you, confirm light positions, mark the ceiling. This takes about 20 minutes and it's the most important step.
- Cutting and wiring -- holes are cut with a template, wiring is run between fixtures and back to the switch. If attic access is available, this goes quickly. If not, we fish wire through the ceiling cavity.
- Fixture installation -- housings go in, trims click into place, connections are made. Everything is tested.
- Dimmer and switch work -- new dimmers get installed, existing switches are updated if needed.
- Cleanup and walkthrough -- drywall dust gets vacuumed, we test every light on every dimmer setting, and you confirm you're happy with the result.
Most pot light jobs in Edmonton homes take half a day to a full day. Larger basement installations with 12+ lights might stretch into a second morning.
The bottom line
Pot lights are one of the best value upgrades you can make to an Edmonton home. They're clean, energy-efficient, and they make every room feel bigger and more finished. Spend the time to get the layout right, use IC-rated LED fixtures, and pair them with a proper dimmer. That's the whole formula.
If you want a quote for your specific space, give us a call or send an email. We'll walk through the layout with you and give you a number before any work starts.